Follow the below steps within your Genesys Cloud org and CX Index to create an integration.
Step 1 - Add CX Index to Genesys
Create CX Index Role in Genesys Cloud
In Genesys Cloud, under People & Permissions
- Create a new Role called “CX Index”.
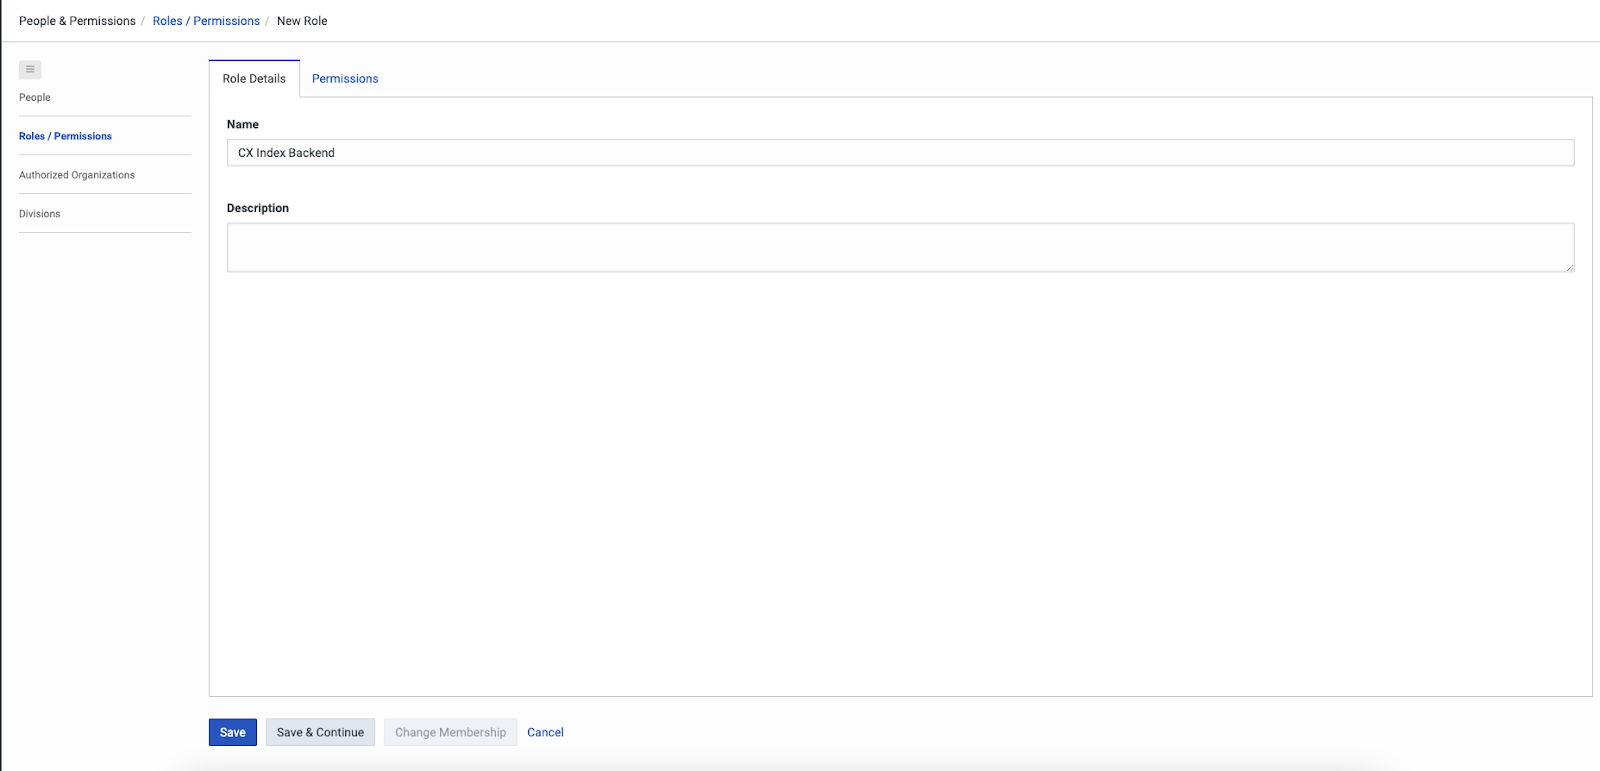
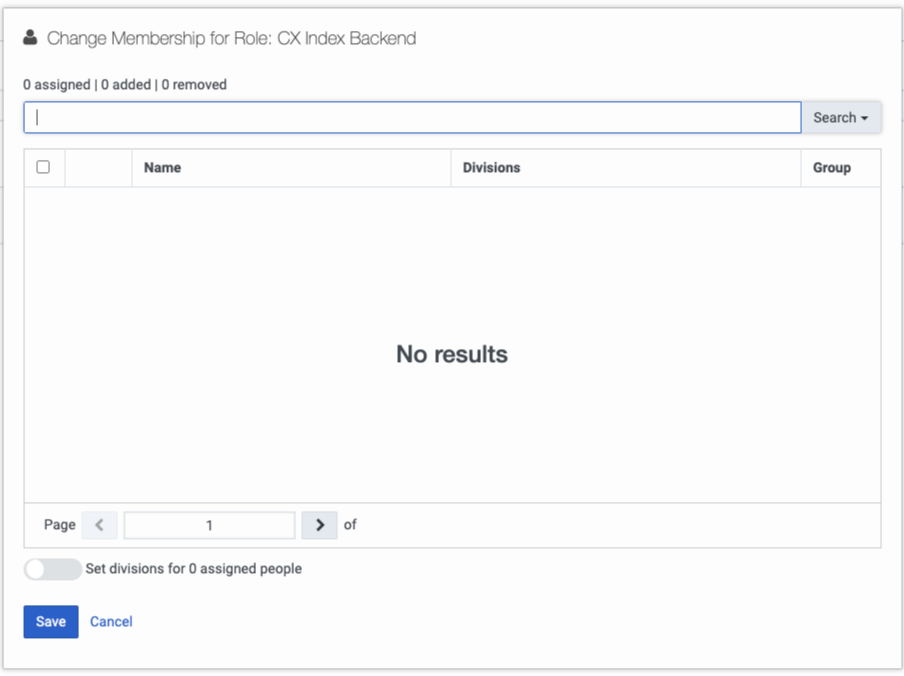
- After saving the role, select Change Membership to add yourself as a user in the Role Membership.
This new role will require the following minimum permissions:
OAuth → Client → View
- Compare Oauth client with the settings provided in order to run API Calls and diagnostics
Architect → Flow → View
- View the flows for survey monitoring
Analytics → Agent Conversation Detail → All Permissions
- Allows CX Index to get information about Agent Conversation Details
Analytics → Conversation Aggregate → All Permissions
- Allows CX Index to aggregate conversations based on search criteria
Analytics → Conversation Detail → All Permissions
- Allows CX Index to get information about conversation participants
Conversation → All Permissions
- Allows CX Index to get information about conversation with custom attributes
External → Contacts → Contact → View
- Allows CX Index to assign additional information about customer from external Contacts (optional)
Directory → User Profile → View
- Allows CX Index to get more detailed information about Agent (optional)
Directory Group → All Permissions
- Allows CX Index access to all Group permissions
Routing → Queue → View
- Allows CX Index to view queue and queue membership
Scripter → All Permissions
- Assigns all Scripter permissions, including any future permissions
Integrations → All Permissions
- Assigns all Integrations permissions to CX Index
Recording → Recording → All Permissions
- Assigns all Recording permissions, allowing CX Index to access and transcribe comments

Create Backend CX Index OAuth
In Genesys Cloud, under Integrations → OAuth input the following Client Details:
- App Name: CX Index Backend
- Grant Types: Client Credentials
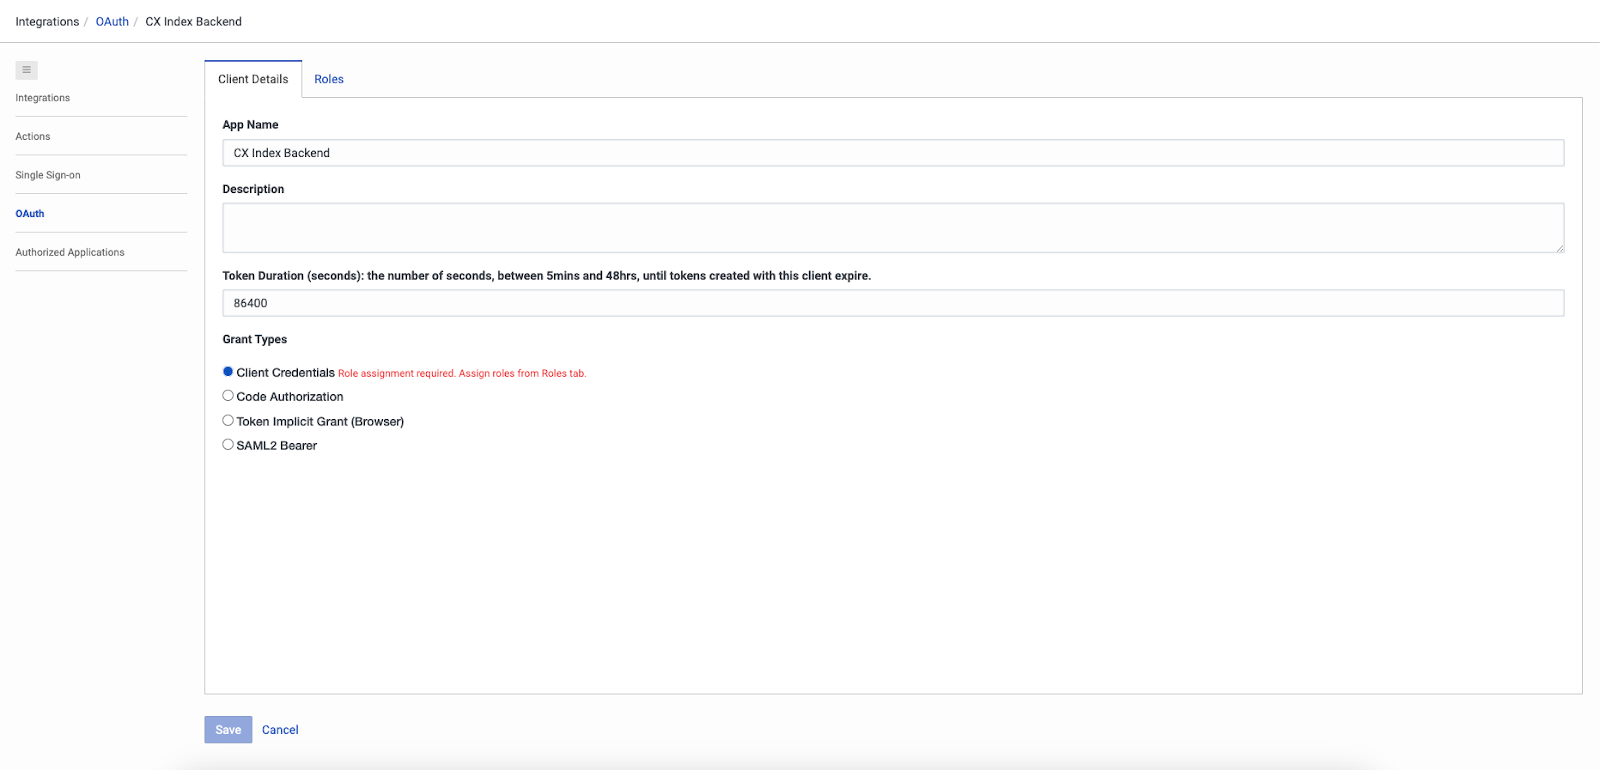
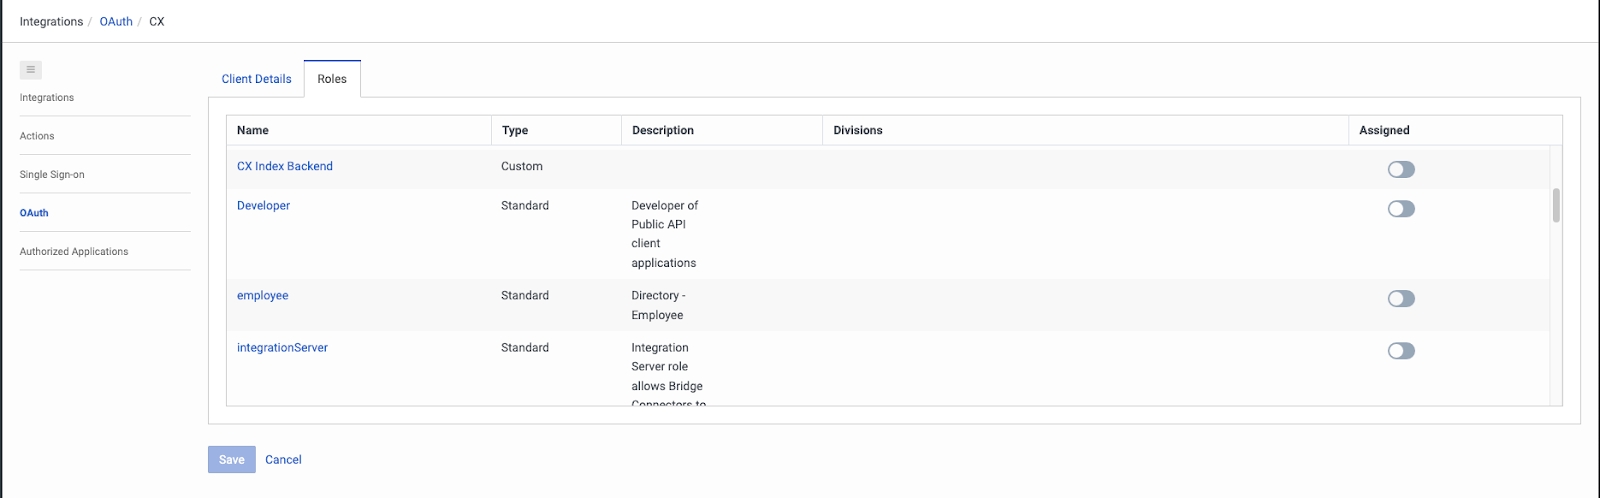
- In the Roles tab, assign the CX Index Backend role to the OAuth client.
Create Frontend CX Index OAuth
In Genesys Cloud, under Integrations → OAuth input the following details:
- App Name: Frontend CX Index
- Grant Types: Token Implicit Grant (Browser)
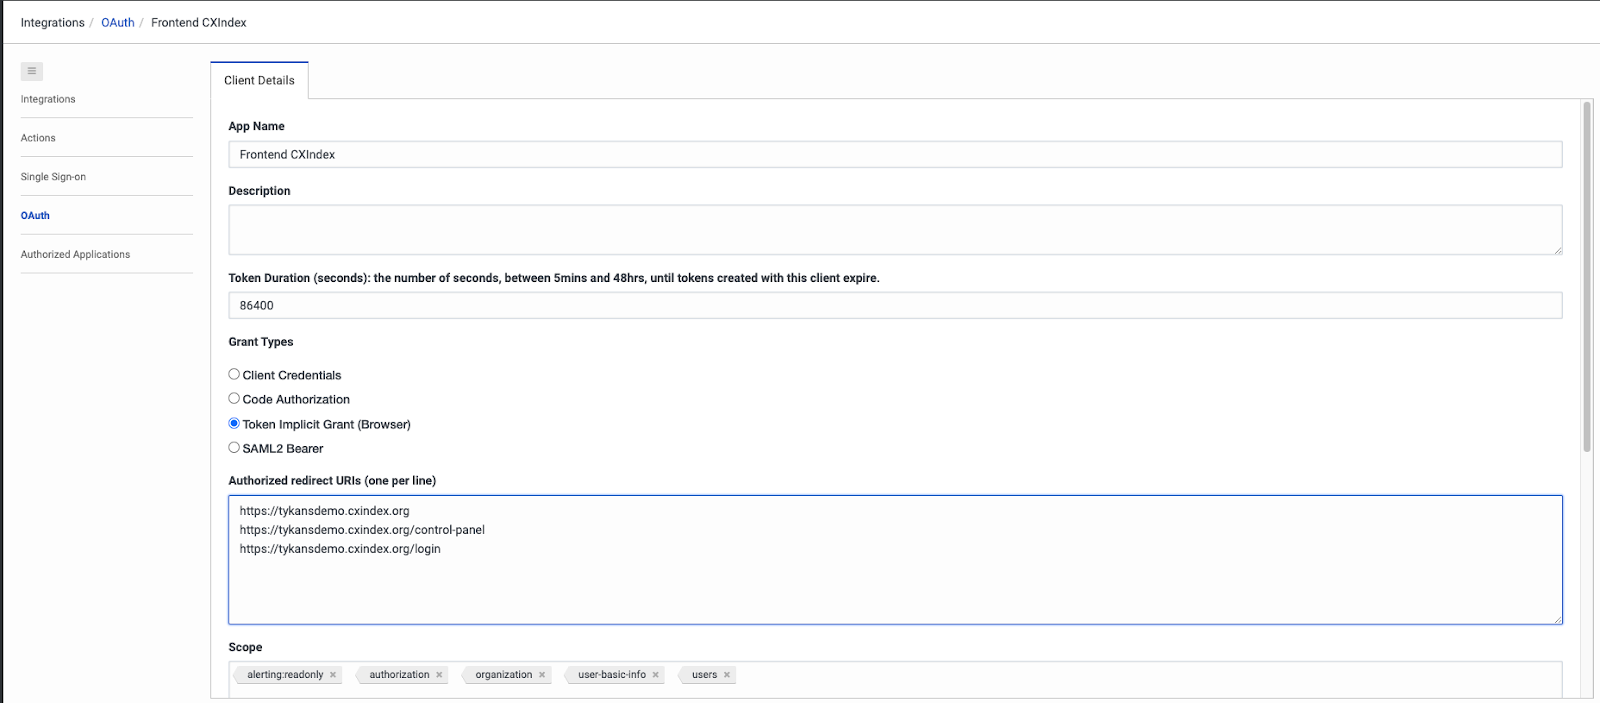
-
Authorized redirect URLs: this will be provided by you by CX Index, but should match the URL of your application, examples below -
- https://example.cxindex.org
- https:/example.cxindex.org/control-panel
- https://example.cxindex.org/login
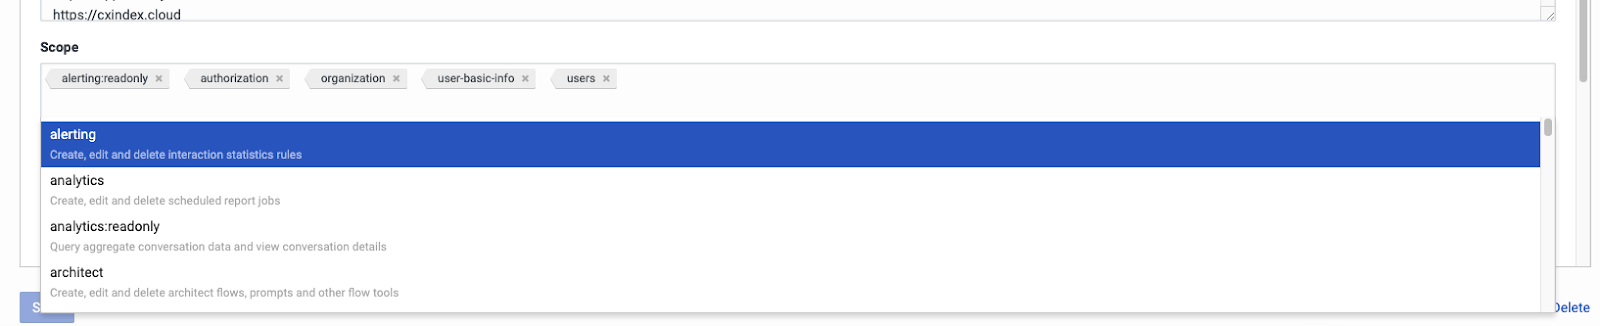
- Scope: authorization, organization, user-basic-info, and users
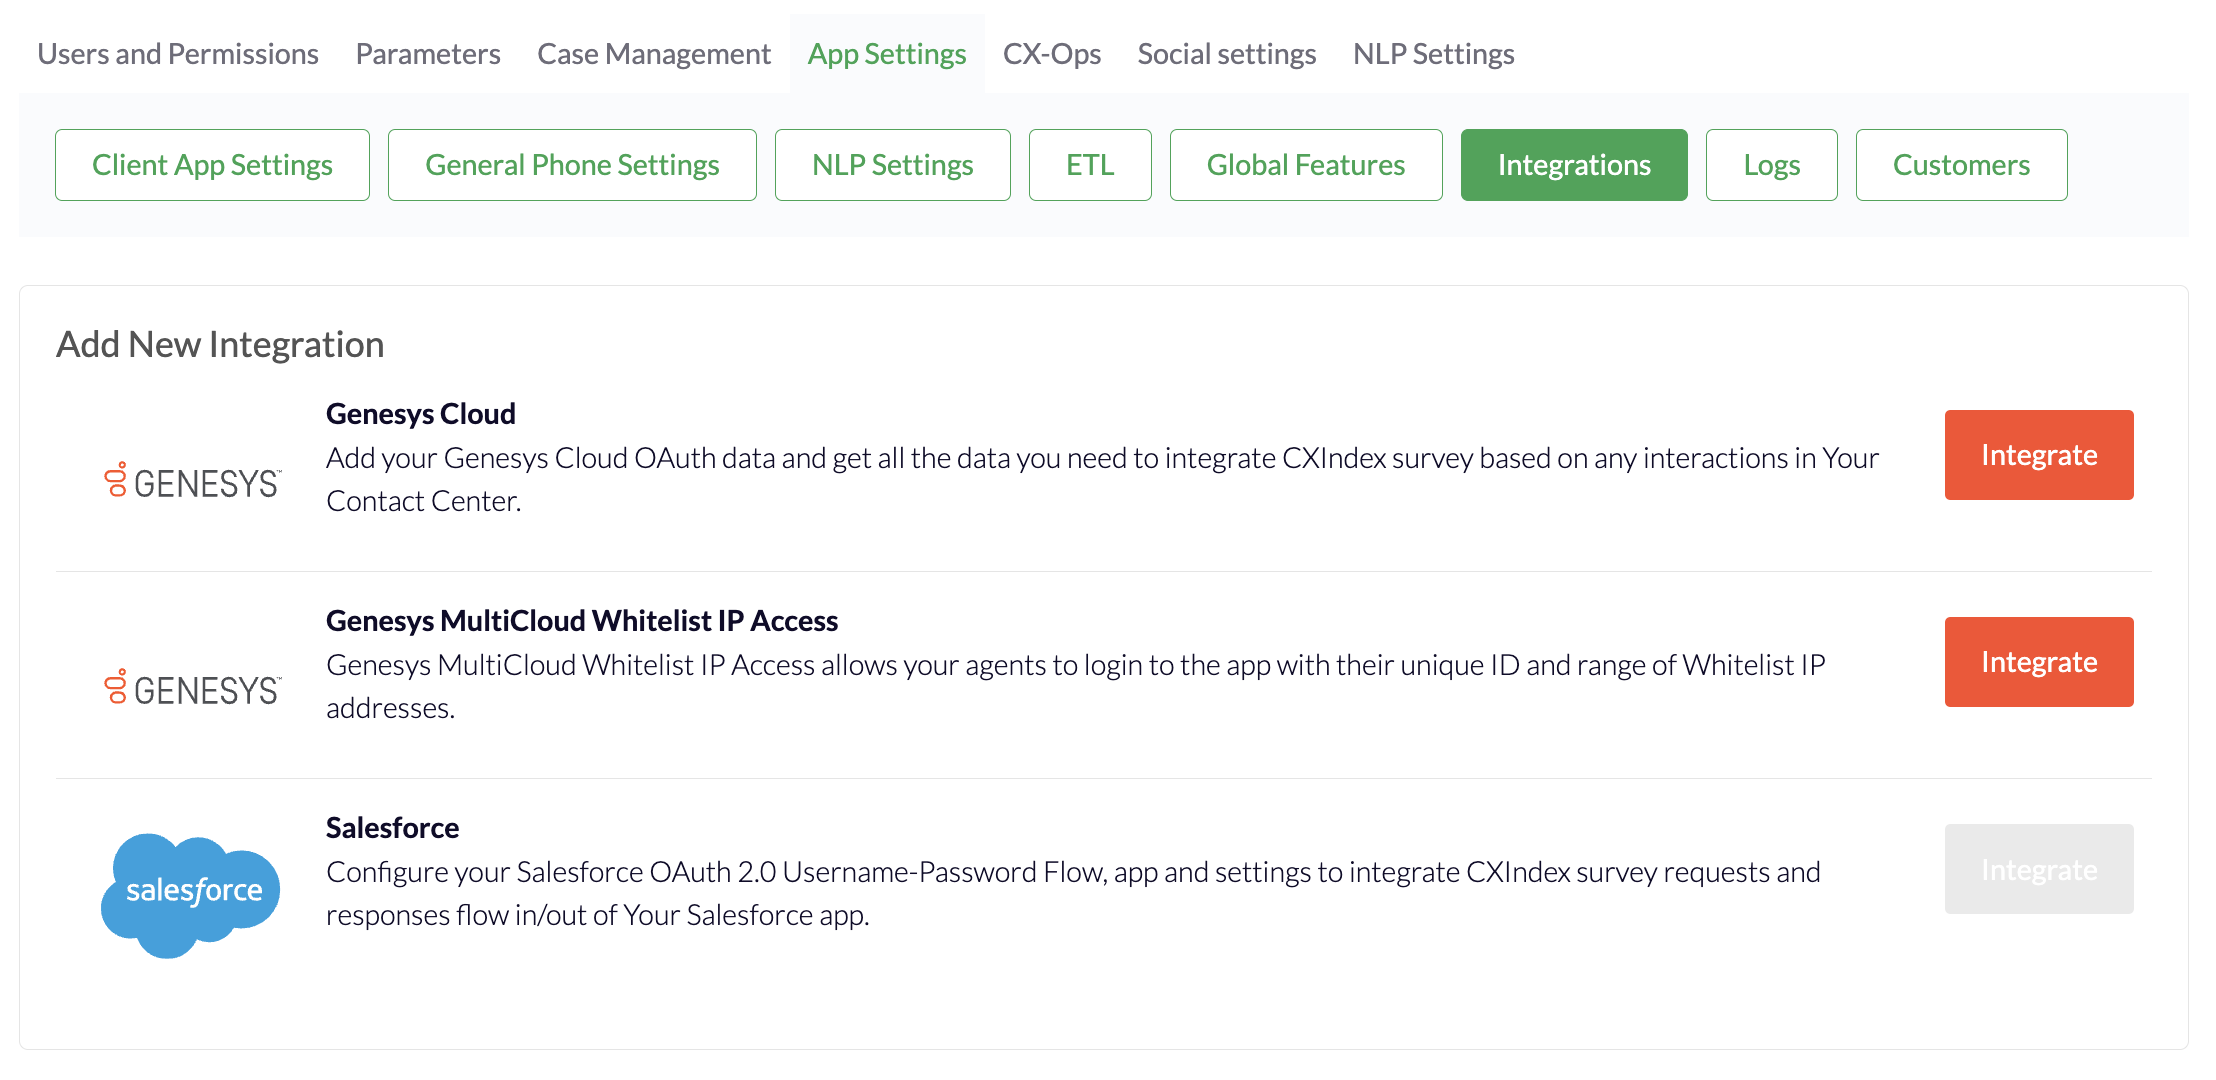
Step 2 - Add Genesys Cloud to CX Index
Create Client Credentials OAuth with that role assigned to it and configure the Genesys Cloud integration with Client Key and Secret on the CX Index platform as detailed above.
Navigate to App Settings → Integrations.
Under Add New Integration - press Integrate next to Genesys Cloud.
Fill in all fields in the form that appears.*
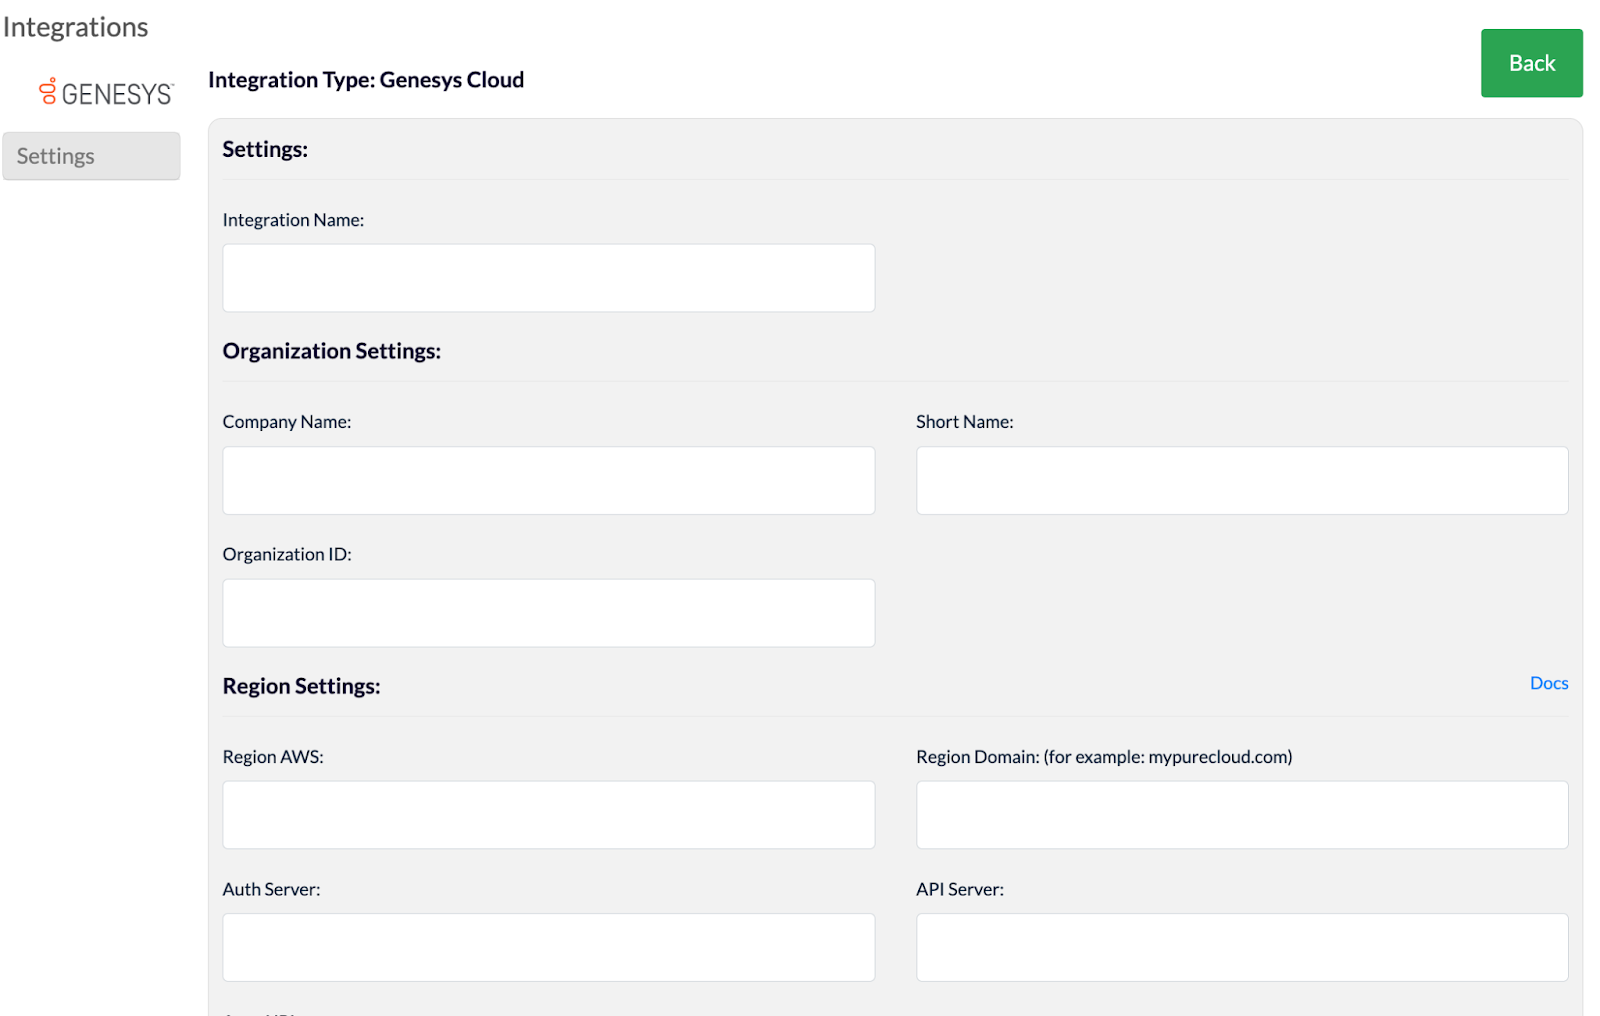
You can save the integration and test to see that all parts are configured properly.
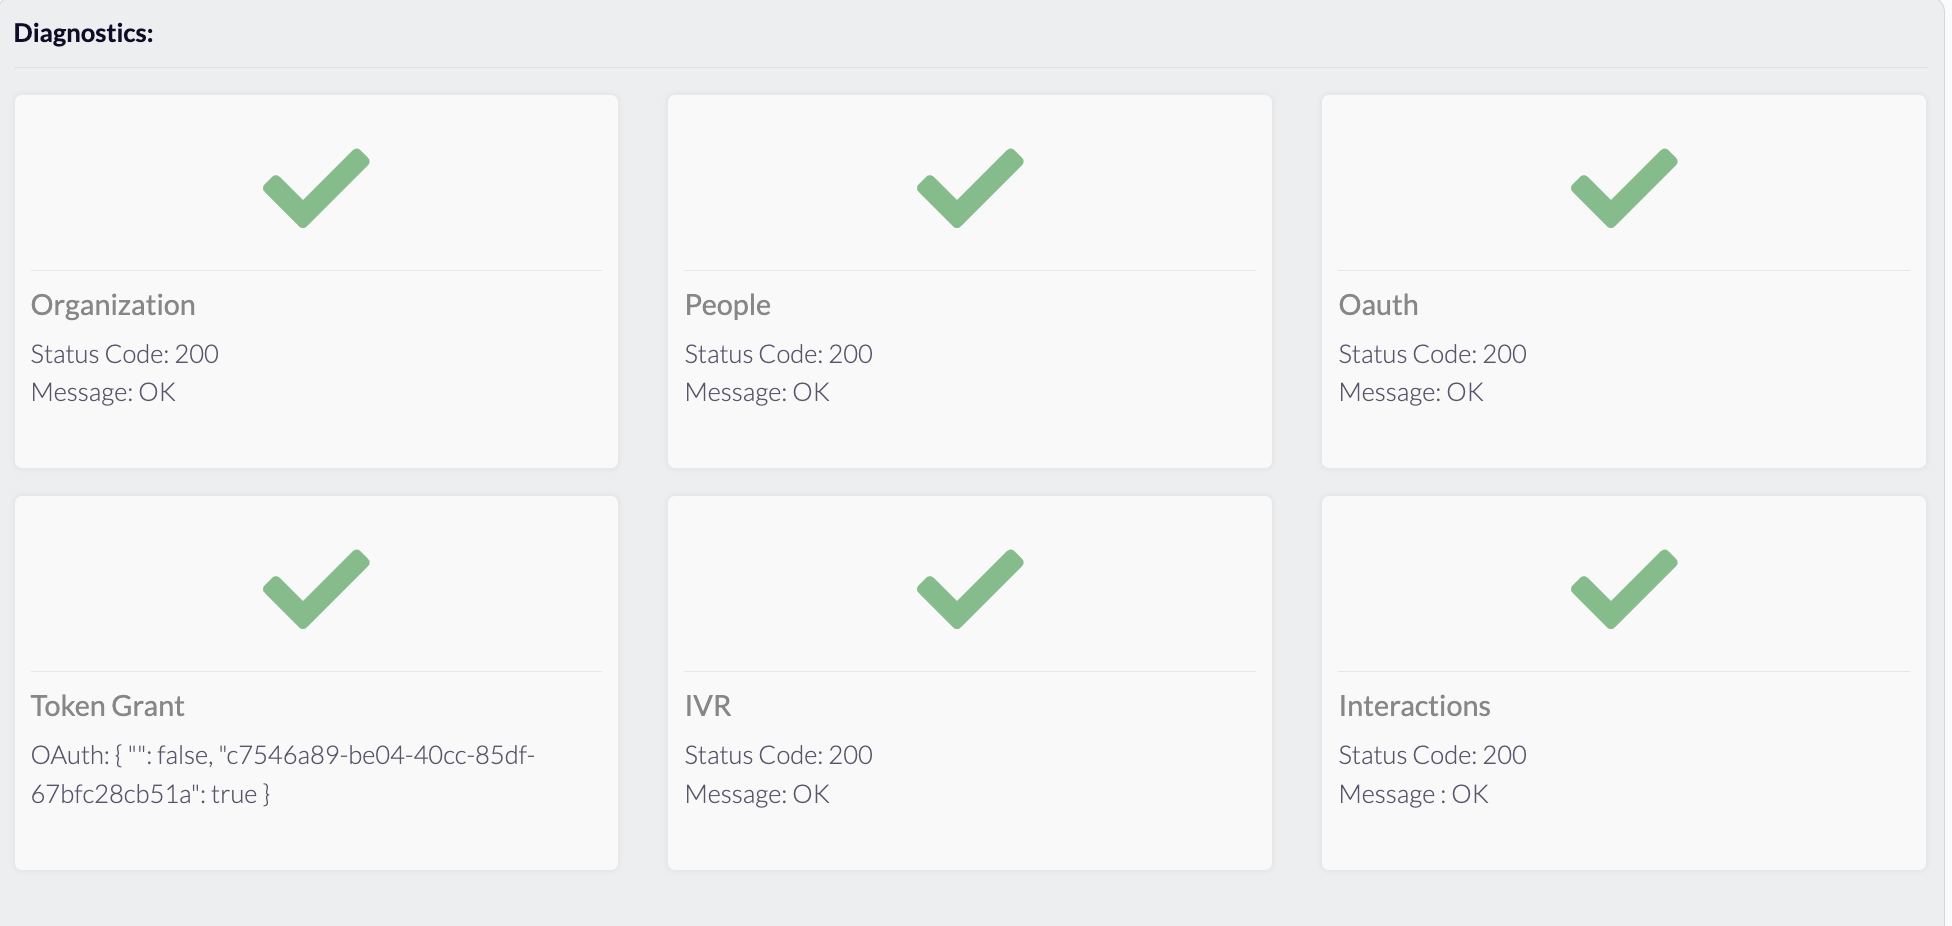
When you test the integration, the system will run diagnostics to check that all credentials are accurate or let you know which parts still need to be enabled.
*If easier, Org ID, Client Secret and Client key can be passed to the CX Index PS team and we can configure it on our end.
Now you are ready to continue your configuration! Follow the steps outlined in this article for more information and next steps.