This functionality is only available to users with administrative privileges
To create a new user
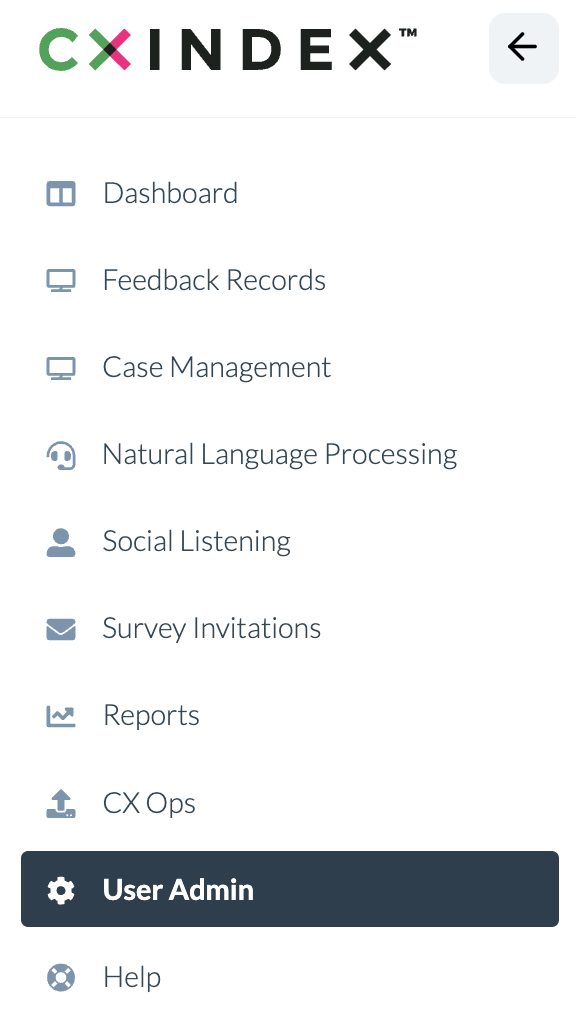
Click the menu icon on the top left corner of the home page of the app. Select User Admin.
Select the Users and Permissions tab, then click Users.
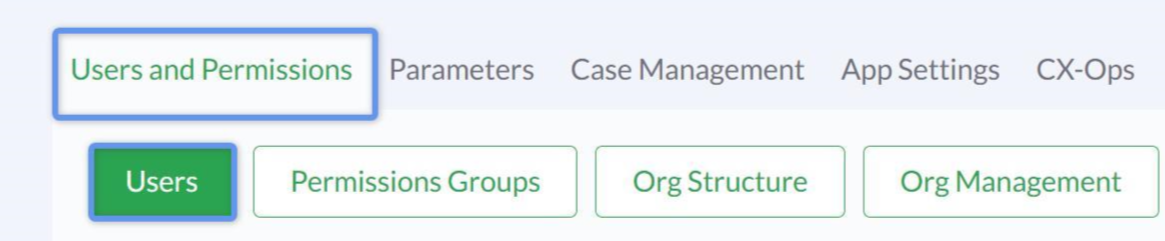
Click the Add New User button on the right side of the page.

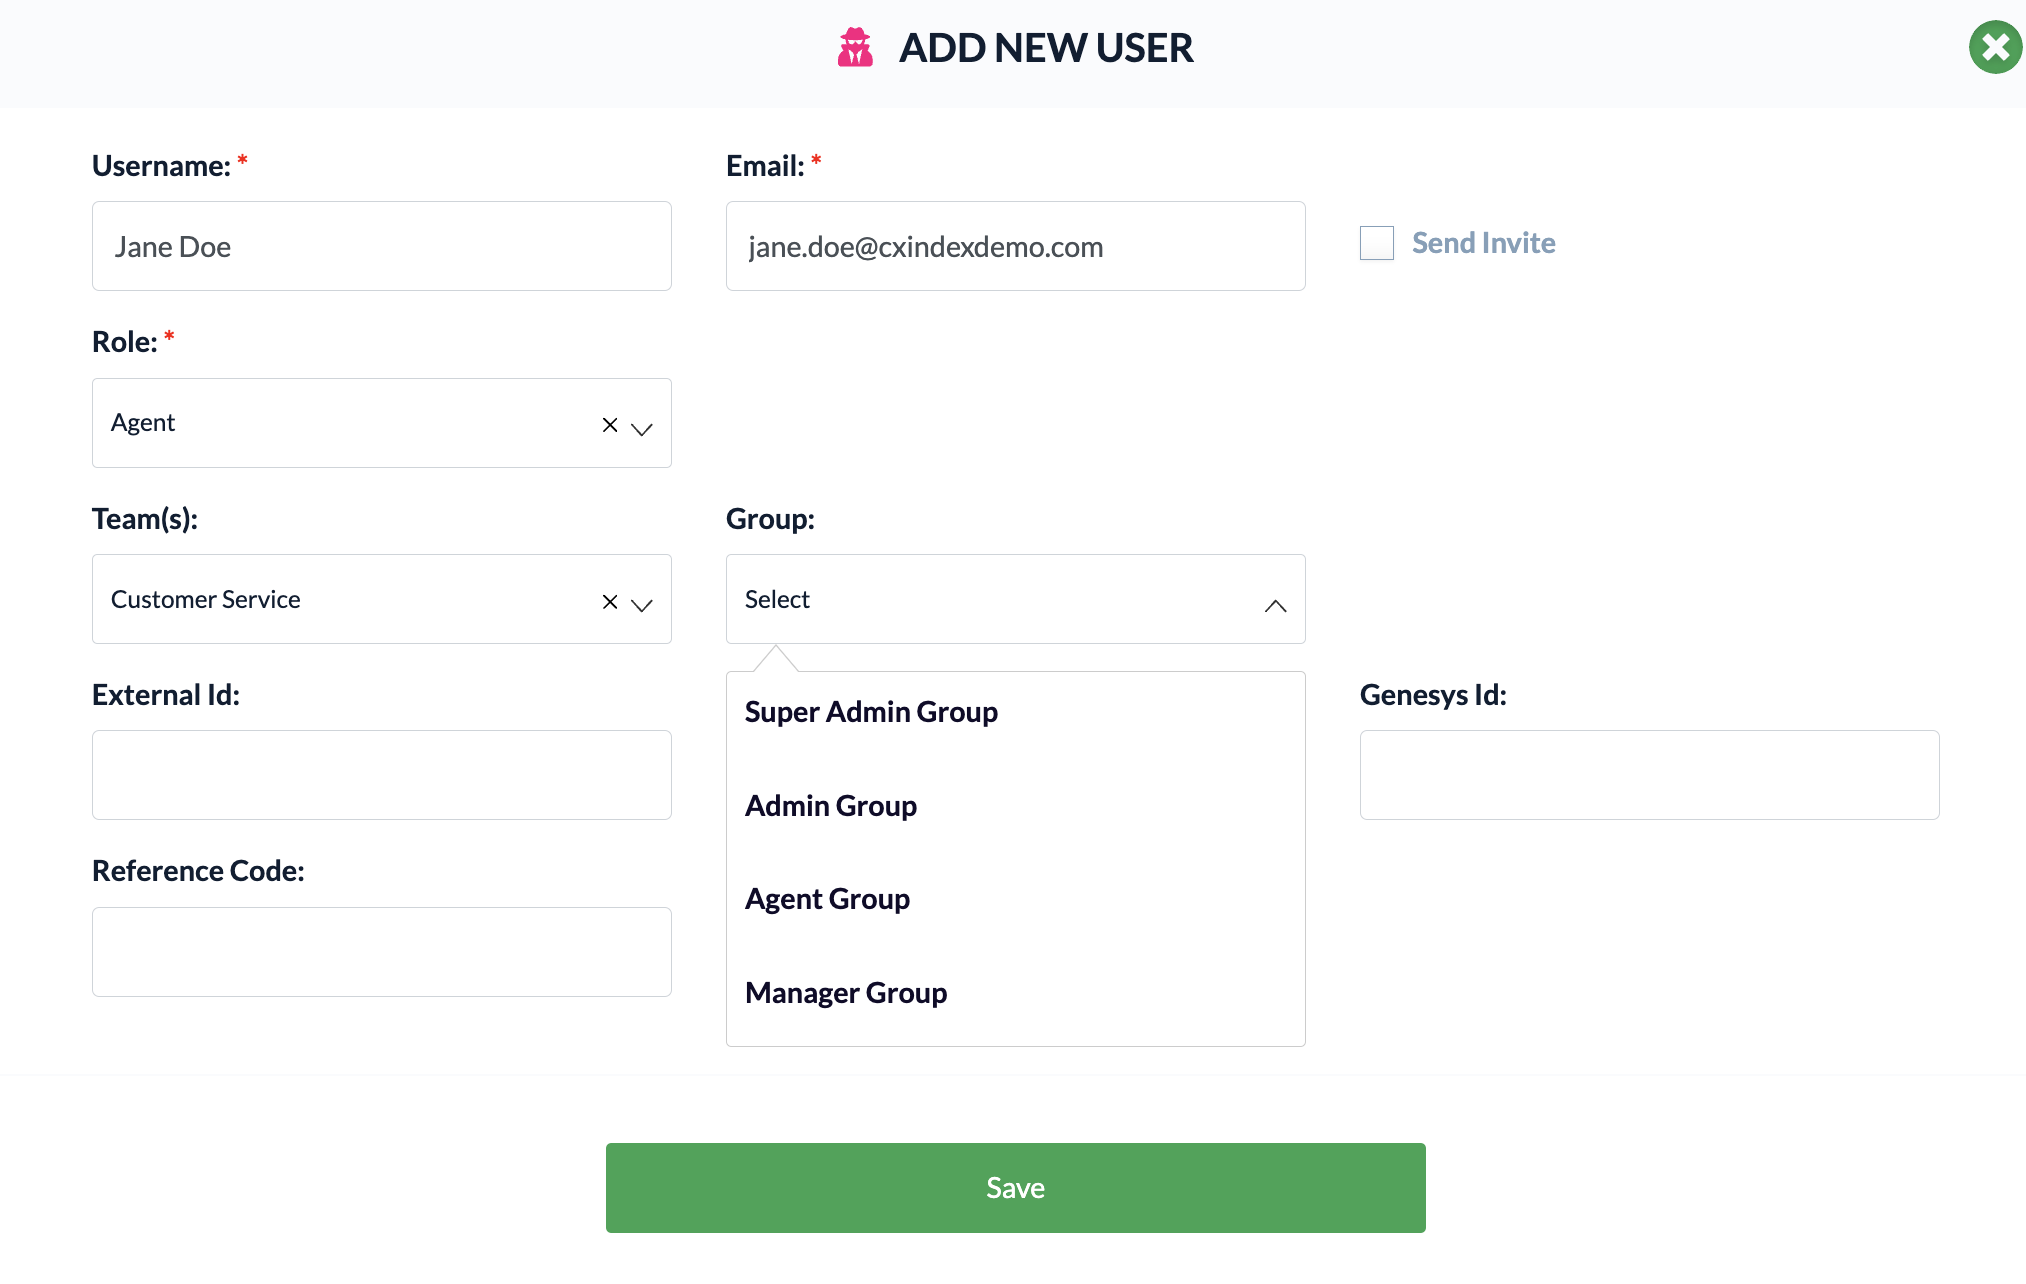
The following fields are mandatory:
- Username (the name of the user usually following the format First Name Last Name e.g. Jane Doe).
- Email (the user’s email address).
- Role (Agent, Manager, Admin, Super Admin)
The following fields are optional:
- Team(s) (select from the drop-down options available; you can also add a user to a team at a later stage). If you don’t want to add them to a Team, leave this blank.
- Team for Survey Data (this field is only relevant for managers who should also send surveys).
- Group (which group of permissions the user should have access to. This will typically align with their role).
- External ID (usually some form of Agent ID reference, this might be from your external contact centre or indeed elsewhere. The same External ID source should be used for all agents).
- Optional ID (if you need an additional ID field for any reason).
- Genesys ID (if the user has an ID in Genesys please include it here).
-
Reference Code (an alternative to external and option ID if necessary).
Send Invite
To send the user an invite by email, check the Send Invite empty checkbox. When you press Save (after Groups, below), the system will email login credentials to the user.
If you want to create the user but you don’t yet want to send them login credentials, simply leave the Send Invite checkbox empty/unchecked

Groups
Select a Group to determine what functionality a user has access to. Groups typically align with the role of a user.
Remember that Groups can have different permissions (to see different parts of the system, or to do different things).
To check what a Group can do, go to User Admin > Permission Groups.
Click the Save button to save all the details you’ve inputted.
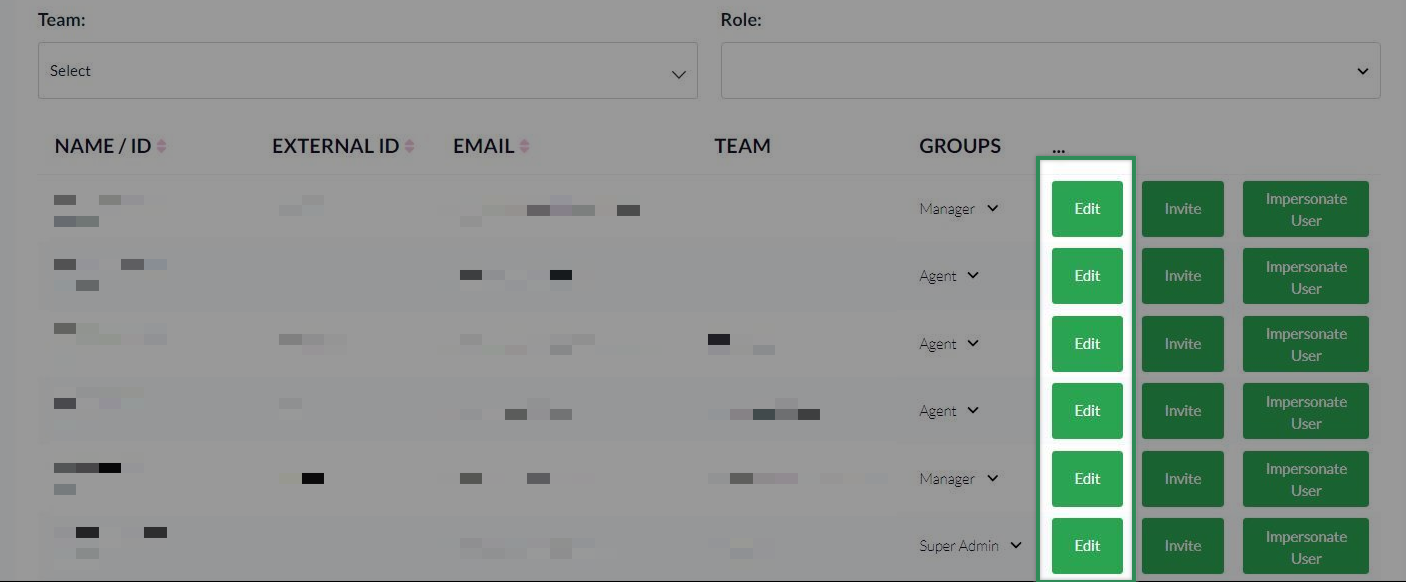
To edit and remove a user
Search for the user you want to edit, click the Edit button on the right side of their record.
Edit the relevant field(s).
Remove User (Soft Delete)
If you want to remove a user from the agent list, check the unchecked checkbox I want to remove this user, and click Remove User. Note that this is a soft delete. The agent’s historical data remains in the system, but the agent can no longer log in.

Users can be restored if they have been removed inadvertently or if you have changed your mind.

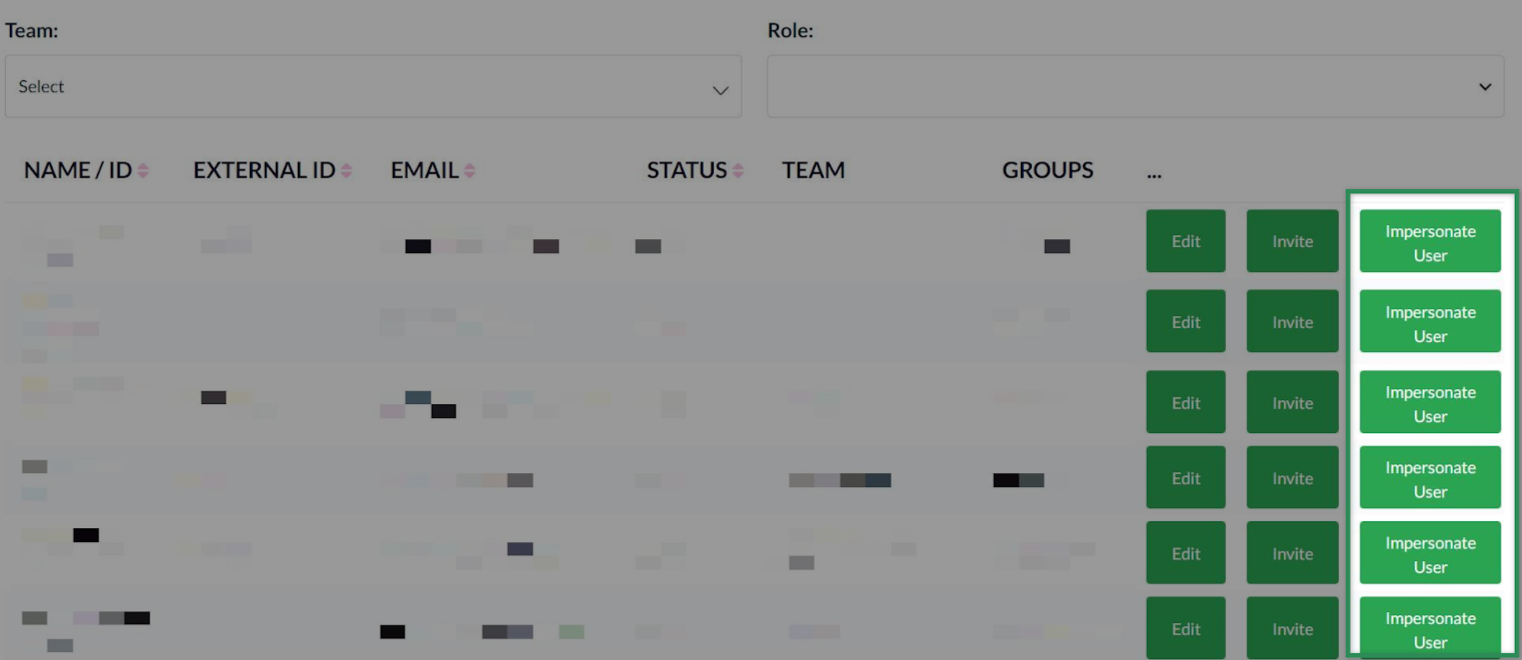
How to impersonate a user
In the Users tab, find the user you want to impersonate. Click the Impersonate User button on the right side of their record. This functionality is only available to Super Admins.
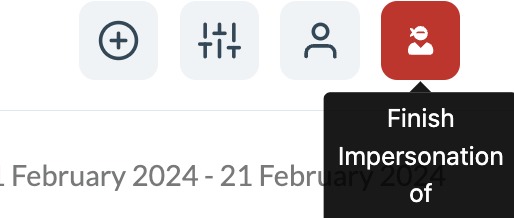
You can now navigate the CX Index app as the selected user. To finish impersonating the user, click the red icon at the top right of the page.
How to upload users in mass, or upload a mass change to users
It is possible to upload users in mass, or upload mass changes to users and managers using our ETL tool.
Instructions on how to use the ETL tool can be found here: How to load files into your CX Index database.
When a Users file is uploaded into the ETL tool, the user IDs are read:
- If an ID is a unique ID, a new user is created within the CX Index database.
- If an ID is already associated with an existing user, then the user’s details will be updated within the CX Index database with the information provided in the file.