These definitions for Case Management are important to understand:
Case Rules: the criteria that must be met for a case to be created. For example, a CSAT score of 2 or less.
Case Reasons: the failure point i.e. what went wrong during the survey process for the customer to give such feedback. Examples of Case Reasons include product, people, hold time, etc.
Custom Case Fields: fields that a user completes when managing a case, which are specifically linked to the reason associated with that case. For example, ‘Please state the name of the product’ or ‘What was the problem with the advisor?’.
How to create Case Rules
Click the menu icon on the top left corner of your page. Select User Admin.

Select the Case Management tab, then click Case Creator.

Select the survey for which you would like to create a Case Rule.
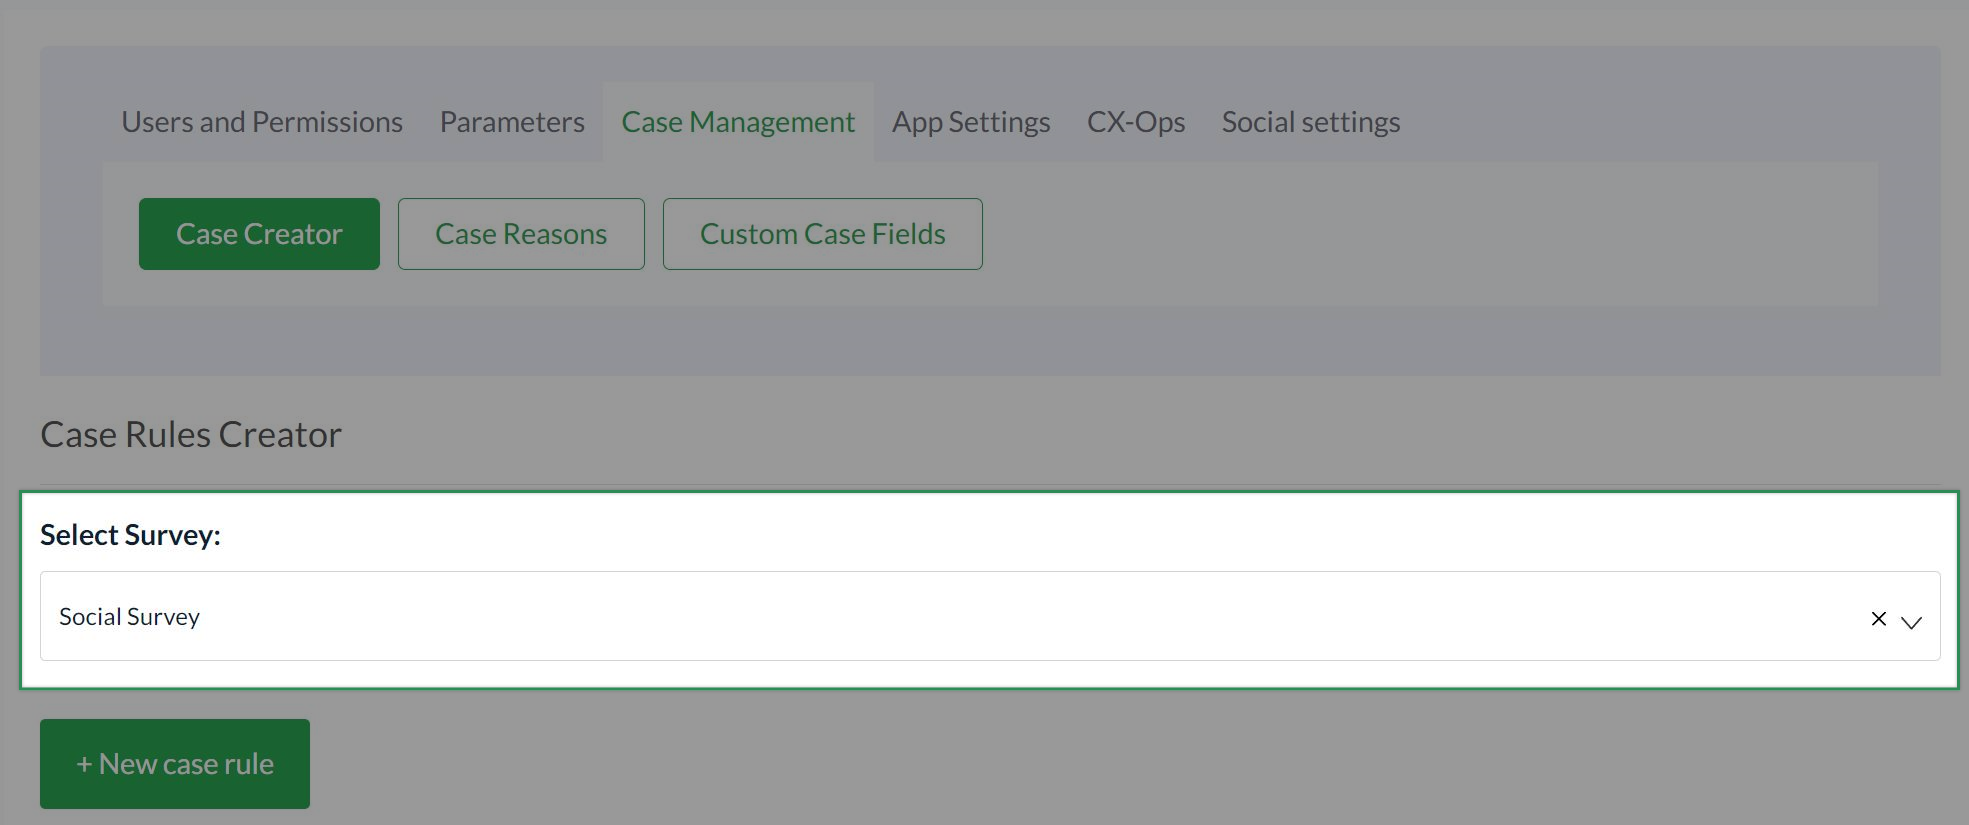
Click the +New case rule button.

A form with Case Rule details appears. Fill in the fields to set up the rule. Note that fields marked with ‘*’ are required:
- Case Rule Name*
- Remind After (time for case reminder to be sent)
- Remind Type (days / weeks / months)
- Escalate After (time for case to be escalated)
- Escalate Type (days / weeks / months)
- Archive After (time for case to be archived)
- Archive Type (days / weeks / months)
- Question rule* (AND / OR)
- Reason
- Team, Supervisors, and Escalate Manager (you can add another case supervisor using the button below this field)
- Case Triggers (the condition(s) that must be met in order for a case to be triggered. You can add conditions using the button below this field)
Click the Save button at the bottom of the form to save the new case rule. The new Case Rule appears under the +New case rule button.
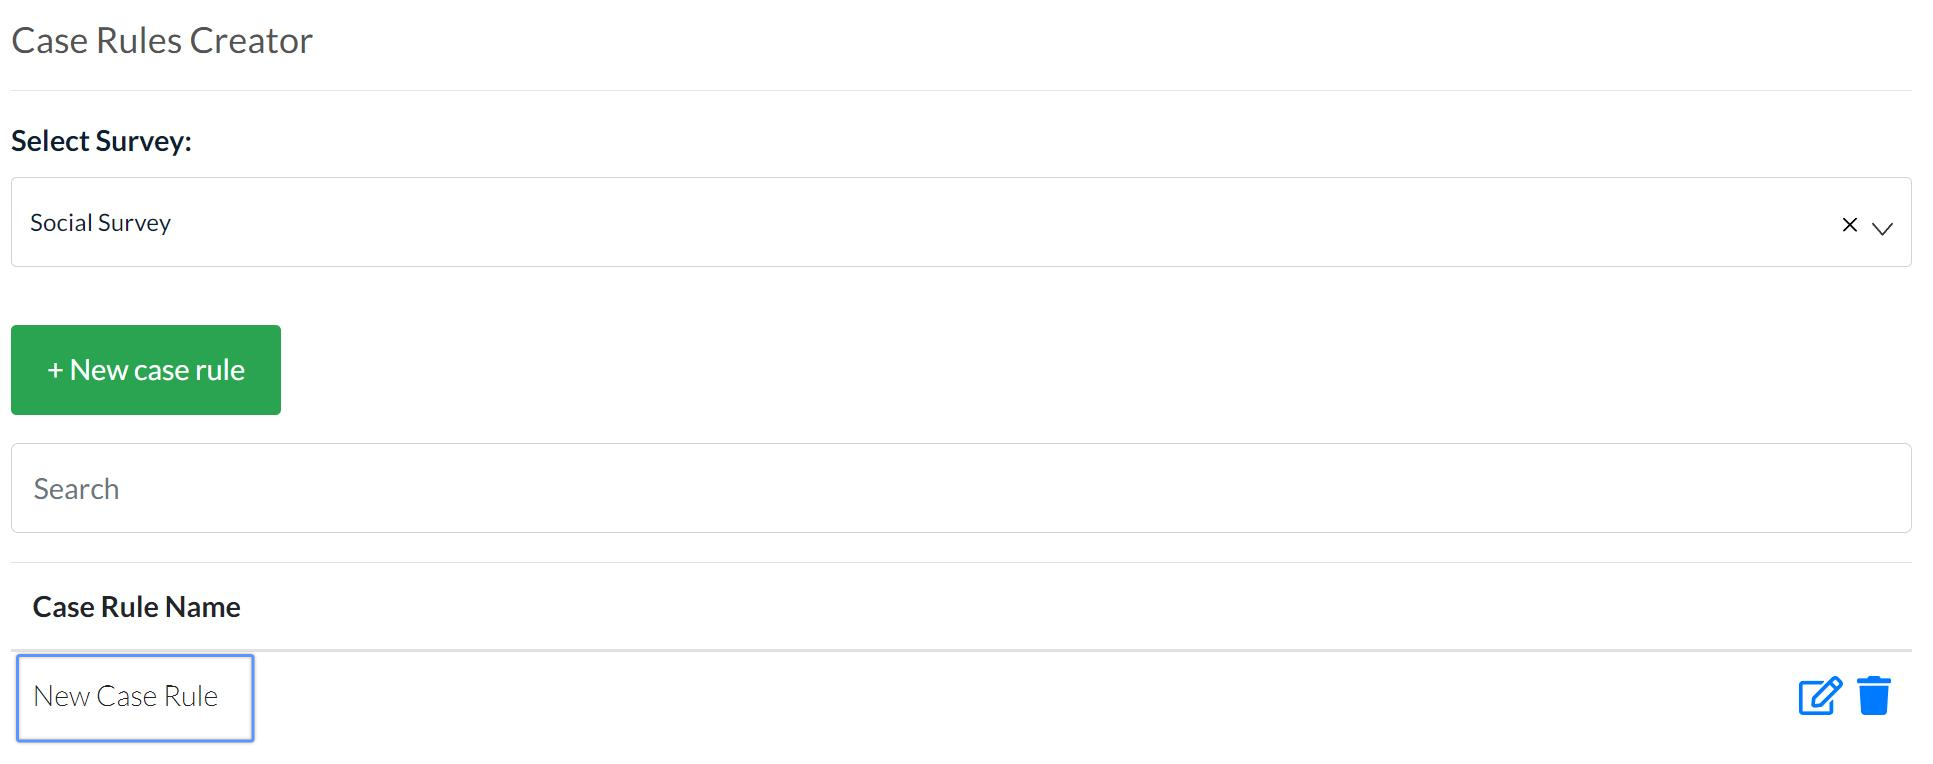
- To edit the rule, click the pencil icon to the right of the Case Rule's name.
- To delete the rule, click the trash can icon to the right of the Case Rule's name.
How to create Case Reasons
Click the menu icon on the top left corner of your page. Select User Admin.

Select the Case Management tab, then click Case Reasons.

Click Add new field.

Fill in the new reason name in the empty text box that appears

Click Save current fields to save the new reason.

To edit a Case Reason
Find the reason you want to edit in the Case Reasons tab. Make the necessary changes in the reason’s text box, then click Save current fields.
To delete a Case Reason
Find the reason you want to delete in the Case Reasons tab. Click the Remove Field button to the right of the reason’s text box. Click Save current fields to save the change.
How to create Custom Case Fields
Click the menu icon on the top left corner of your page. Select User Admin.

Select the Case Management tab, then click Custom Case Fields.

Select the survey for which you would like to create a Custom Case Field.

Select the reason that will be attached to the Custom Case Field.

Click the Add new field button.

In the box that appears below, fill in the field details
Click Save current fields to save changes.

To edit a Custom Case Field
Find the case field you want to edit in the Custom Case Fields tab by selecting the specific survey and reason. Make the necessary changes to the field, then click Save current fields.
To delete a Custom Case Field
Find the case field you want to remove in the Custom Case Fields tab by selecting the specific survey and reason. Click the Remove Field button at the bottom of the field. Click Save current fields to save the change.