To create a report
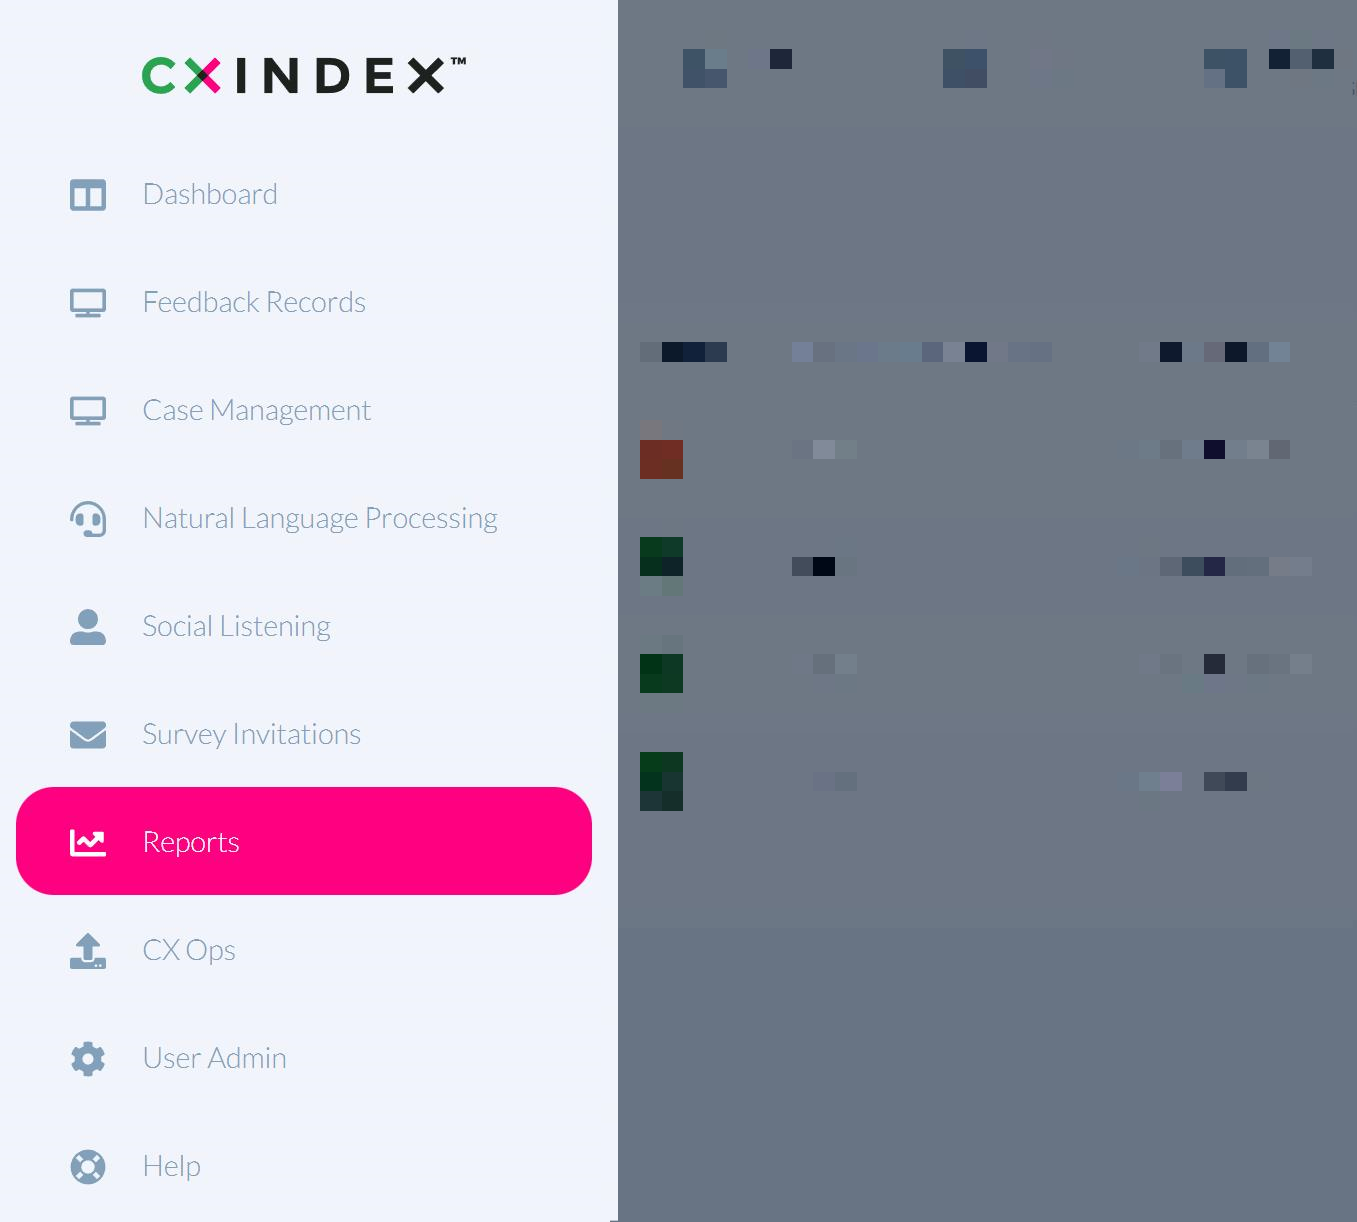
Click the menu icon on the top left corner of your page. Select Reports.
On the right hand side of the page, click the Create new Report button.

The Create Report page appears. Fill in the fields to configure the report as required.
| Name | The title of the report. |
| Access | Select the names of the users who will be able to edit and view the report. |
| Type | The file type of the report e.g. PPT, PDF, etc. If your chosen file type is CSV, you will also need to select a CSV delimiter in the adjacent field . |
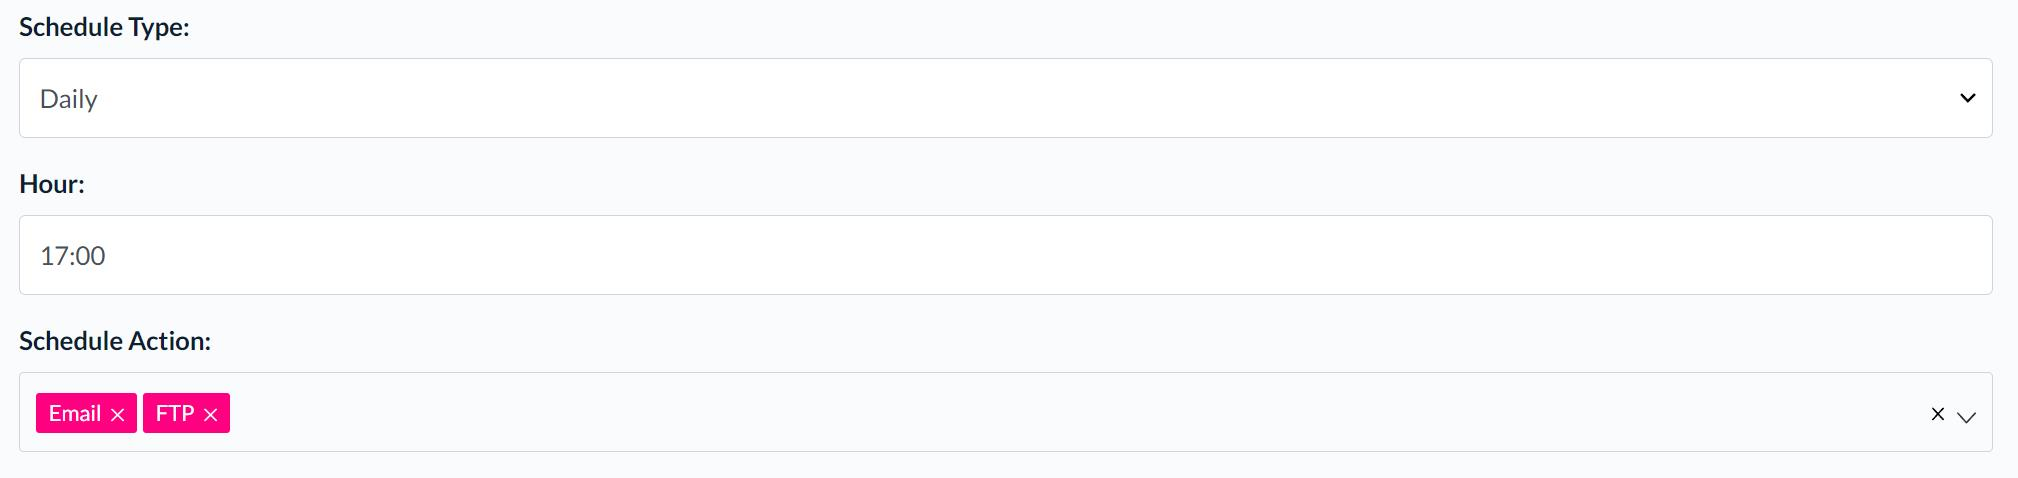
| Schedule Type | How often the report will be scheduled. Options are Daily, Weekly, Monthly, Quarterly, Yearly and On Demand. For more information on scheduling reports, go to the following section: Scheduling Reports. |
| Hour | The time of day the report will be scheduled. Time should be in 24-hour clock format e.g. 09:00, 17:00. |
| Schedule action | Select whether the report will be sent to an FTP directory or an email address, or both. |
| Schedule email | The email address the report will be sent to, if required. Click Add email if you require multiple email addresses in this field. |
| FTP directory | The FTP directory the report will be sent to, if required. |
| Note | A brief description of the report and any other notes as required. |
Click the Save button at the bottom of the page to save changes.
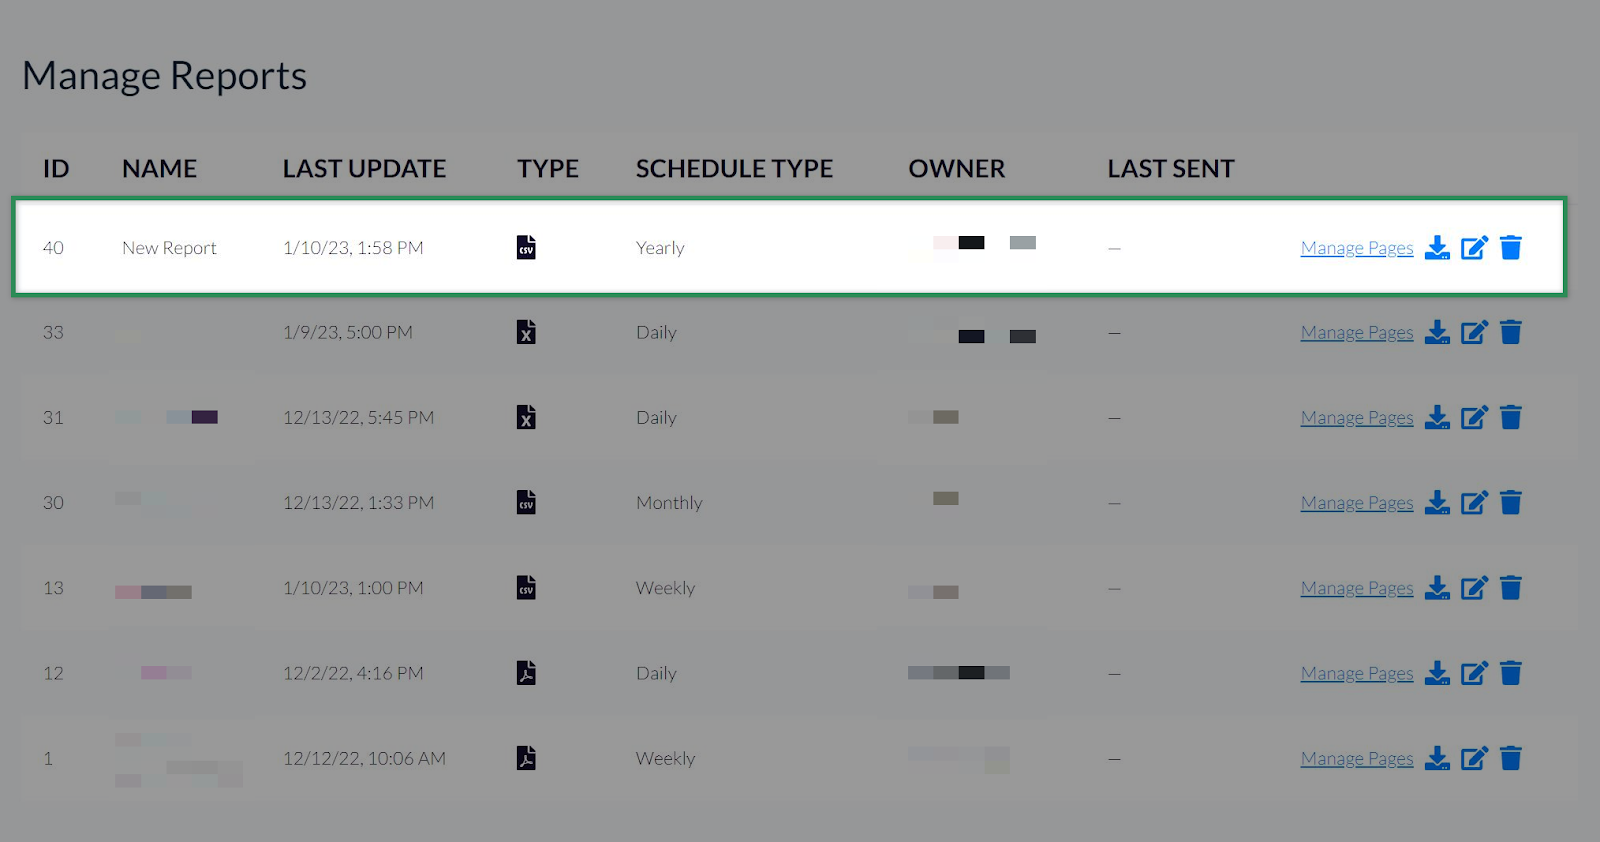
The new report appears at the top of the Manage Reports page.
Scheduling Reports
Reports can be automatically sent to the specified email address and/or FTP directory.
When creating a report, choose whether the report will be scheduled Daily, Weekly, Monthly, Quarterly, and Yearly in the Schedule Type field. You can also choose the time of day the report will be scheduled in the Hour field.
In the Schedule Action field, select whether the scheduled report will be sent to an email address, and FTP directory, or both.
For reports that will be scheduled by email, fill in the Schedule email field. Click Add email if you require multiple email addresses in this field.
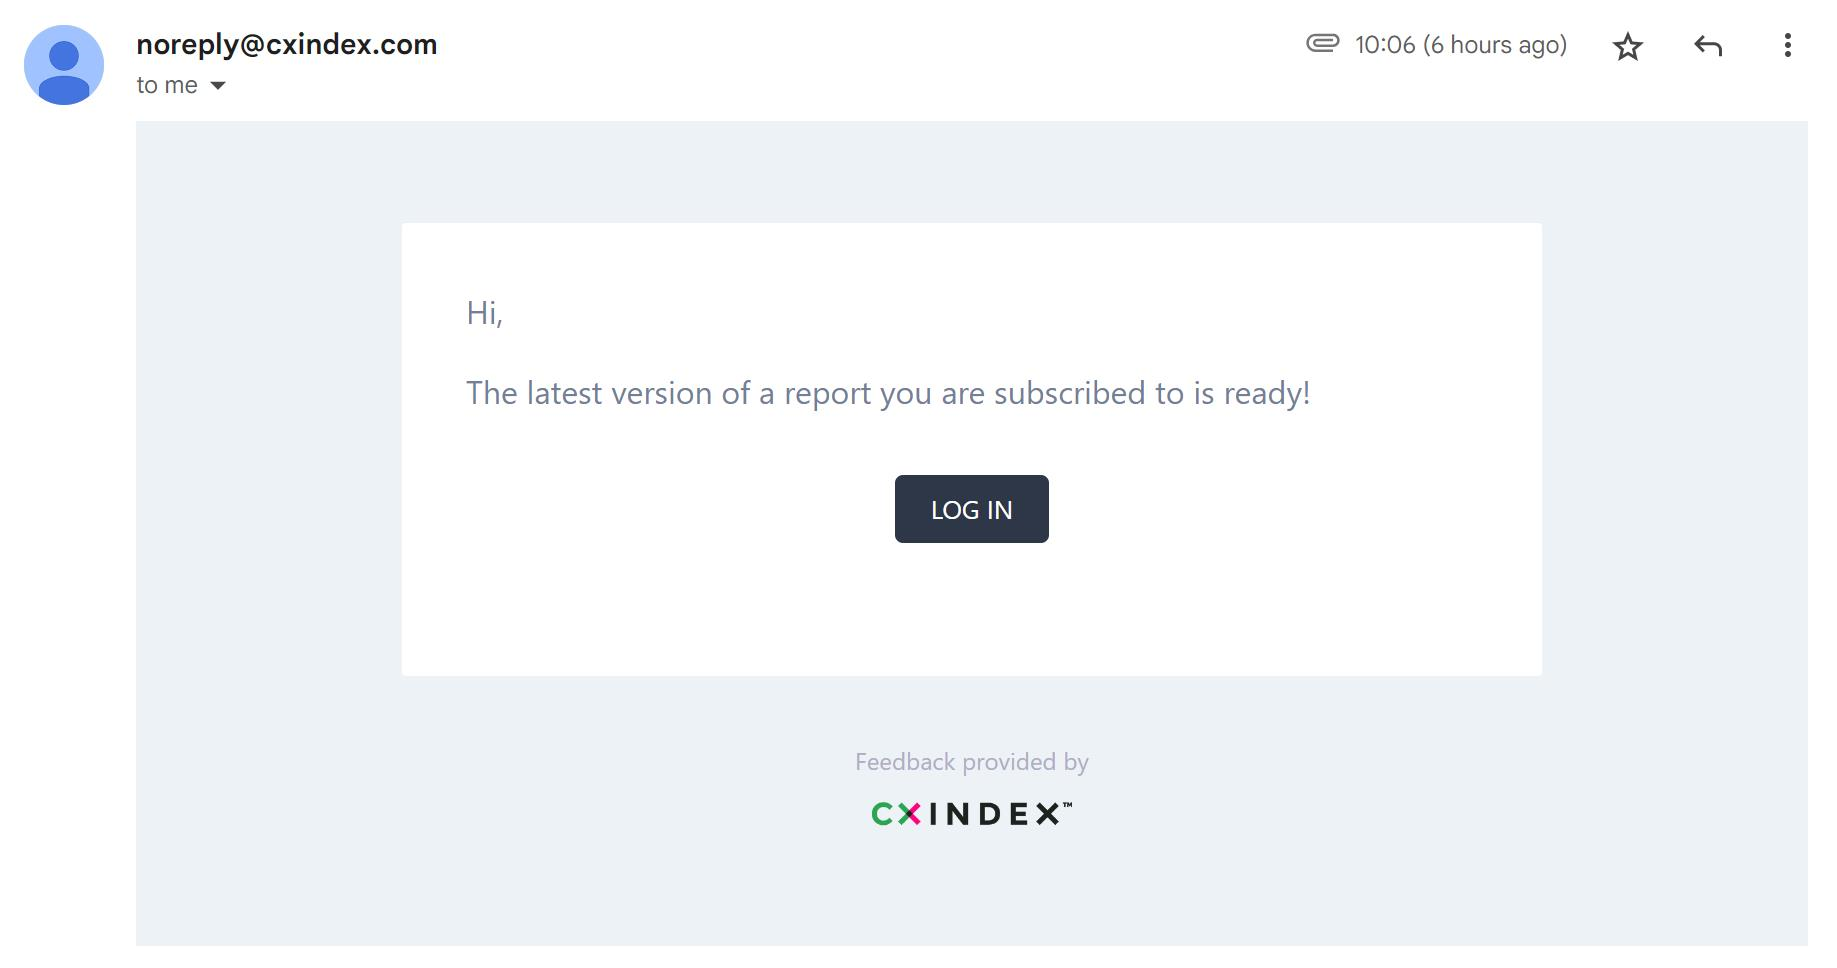
The report will be automatically sent to the specified email address(es) at the scheduled time.
SFTP
For reports that will be scheduled via SFTP, fill in the FTP directory field with the relevant URL.
The report will be automatically sent from the CX Index system to the specified FTP directory at the scheduled time.
To configure report pages
At the right of the report entry, locate the blue text and icons. Click Manage Pages.

Reports are configured on a page-by-page basis.
Each page can contain at most one chart.
To configure a page, fill in the required fields.
| Level | Organisational level to be presented. Options are Agent, Team, Survey, Metric, Response, or Custom. |
| Period | The time period by which data will be displayed i.e. data relating to a particular day, month, etc. Options are Day, Week, Month, Year, or Total. |
| Period interval |
The number of periods you would like to go back to extract data from. For example, if the period is set to Month, and it is currently January:
|
| Org entities (Teams and Agents) | Select the required entities by checking the relevant checkbox. |
| Surveys | Select the required survey(s) by checking the relevant checkbox. |
| Metrics | Select the required metric(s) by checking the relevant checkbox. |
| Performance fields | Used for creating reports from CX-Ops data. |
Click the Save Page button to save changes. Alternately click the Save all pages button at the bottom of the page.
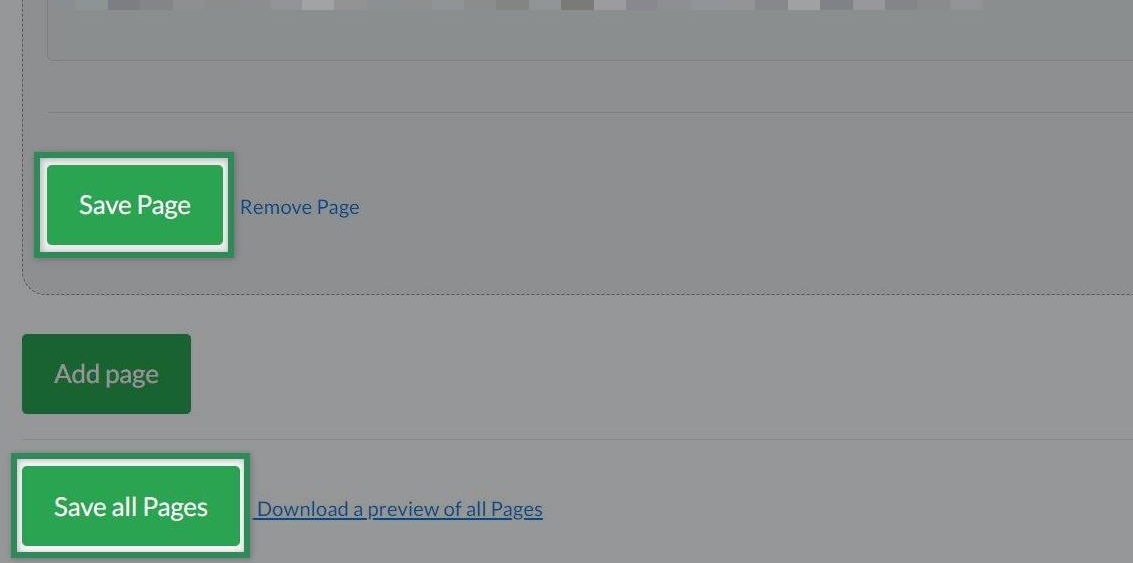
To remove a page, click Remove Page (next to the Save Page button).
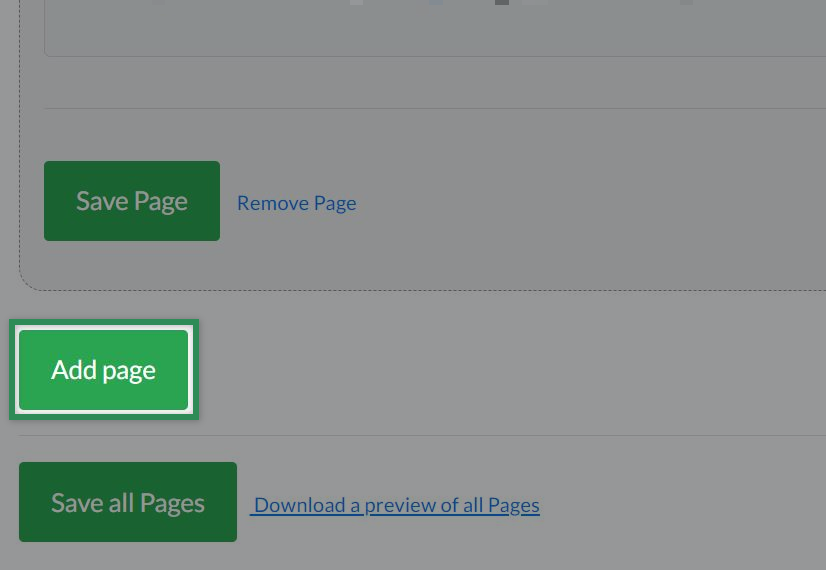
To add a page, click the Add page button at the bottom of the screen.

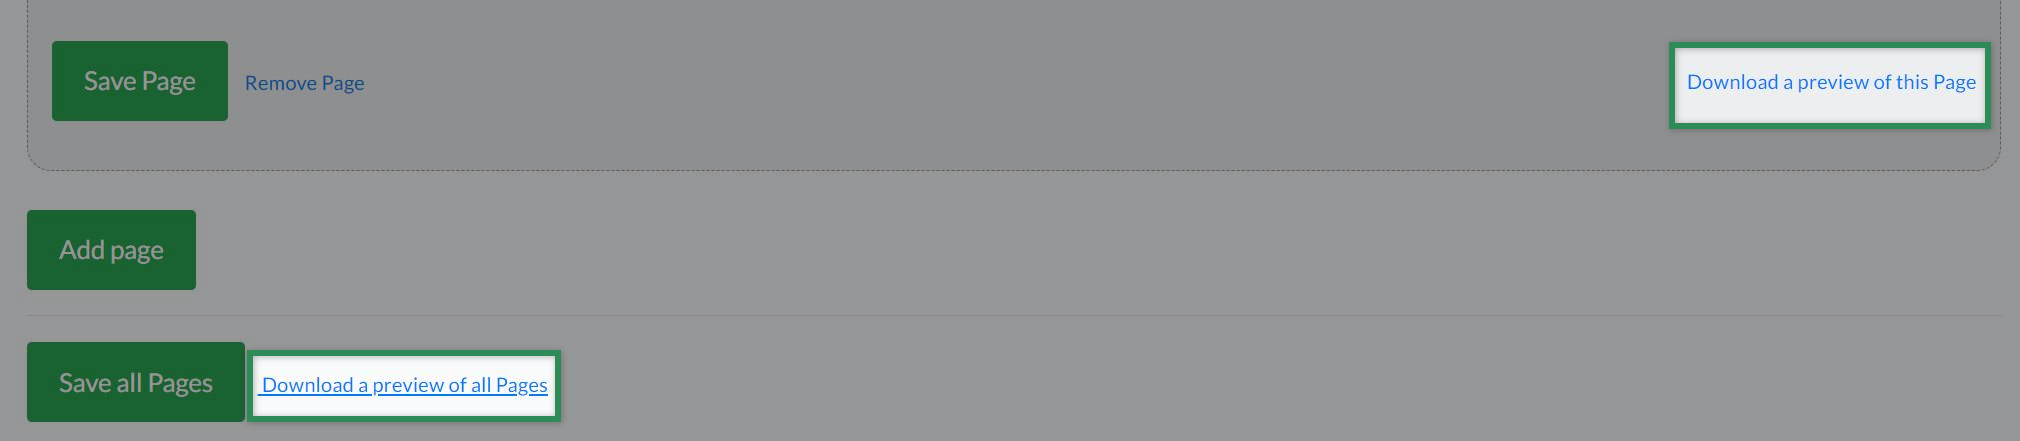
To see a preview of a particular page, click Download a preview of this Page at the right. To see a preview of all pages, click Download a preview of all Pages at the bottom of the screen.
To download / edit / delete a report
At the right of the relevant report entry, locate the blue text and icons.
To download the report, click the download icon. The report will download to your device. 
To edit the report, click the edit icon. The Create Report page appears. Edit the necessary fields as required.
To delete the report, click the bin icon. Click Yes on the pop-up window that appears to confirm the action.