Saving Summary Metrics
Upon logging into CX Index for the first time, every user is prompted to select which metrics will appear on their dashboards. In the Admin settings, under Parameters, select Metric Settings.
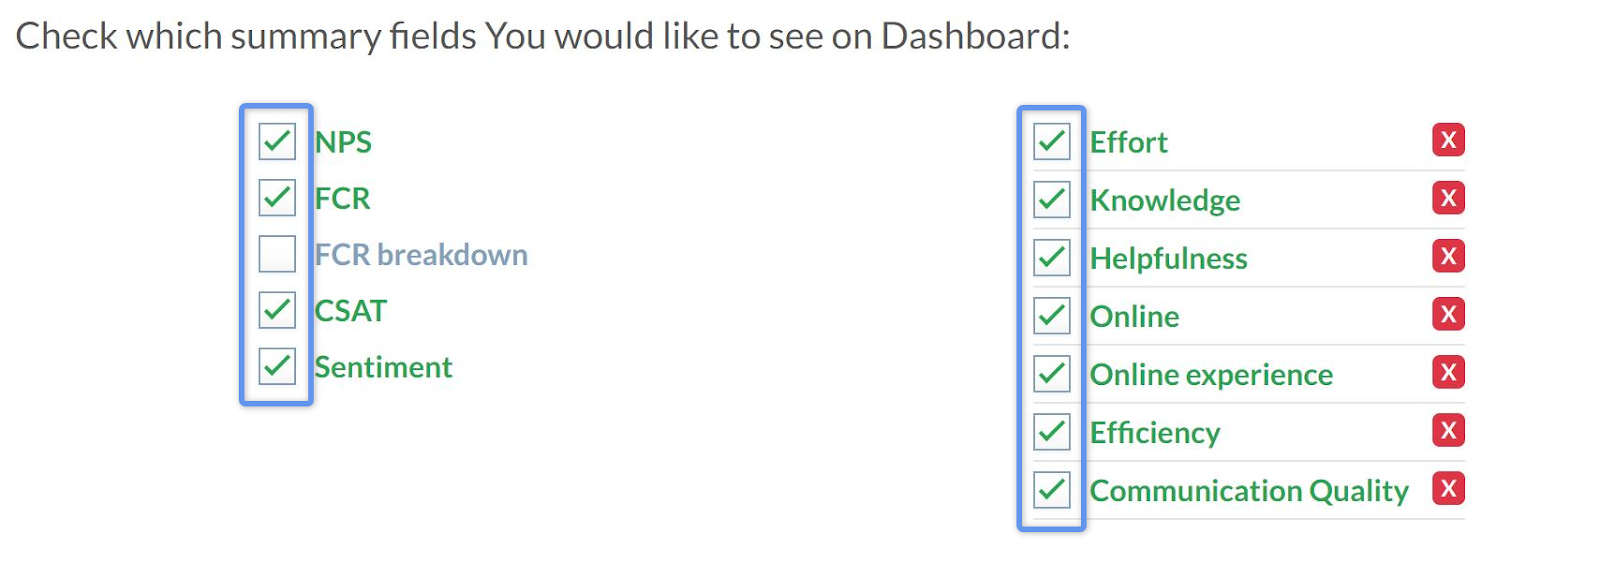
In the Metric settings tab, find the two lists of metrics. The list on the left shows standard metrics, and the list on the right shows custom metrics.
Check the box next to the metrics you'd like to appear on your dashboard and in exports. Click Save Summary Settings.
Adding a Custom Metric
Find the Add custom metric section at the top of the Metric settings tab. Fill in the required fields as indicated. Click the Add custom metric button.

The metric will be added to the list below so you can label survey questions with that metric and save it to your dashboard.
How to delete a metric
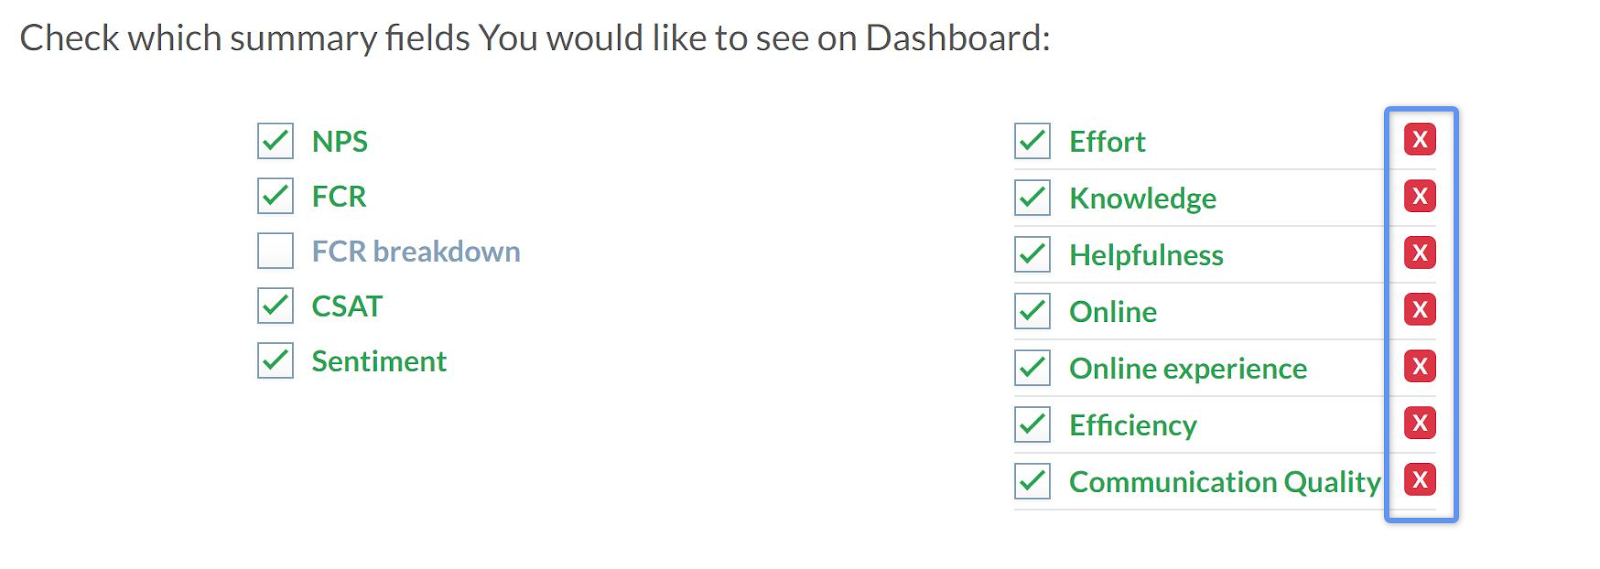
In the Metric settings tab, find the list of metrics. The list on the left shows standard metrics, and the list on the right shows custom metrics.
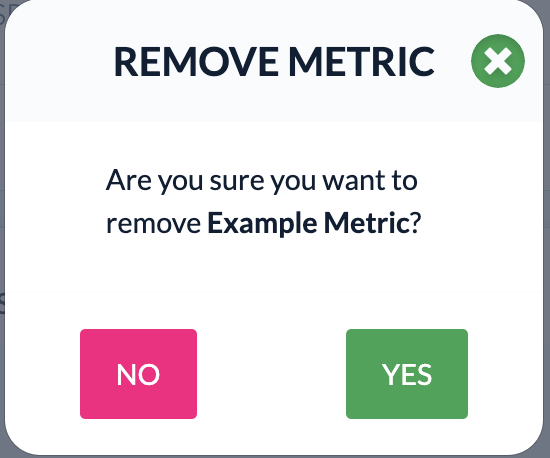
Only custom metrics can be deleted. To delete a metric, click the red ‘X’ to the right of the metric.
Click Yes on the pop-up window that appears.